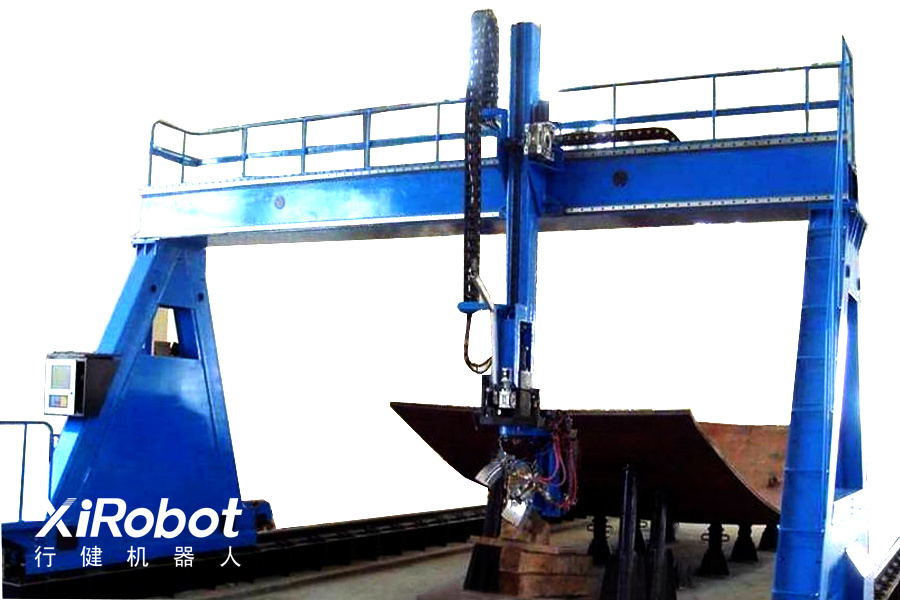
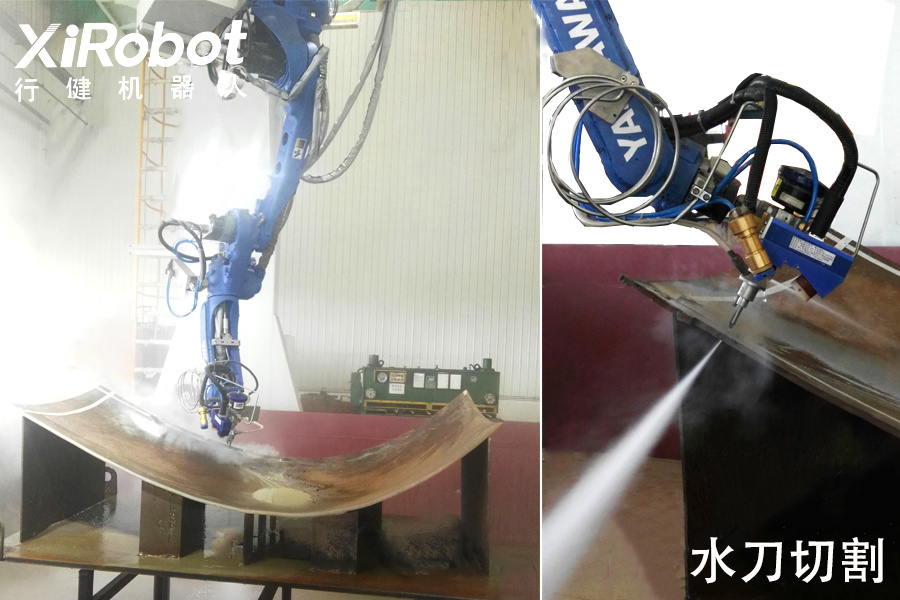
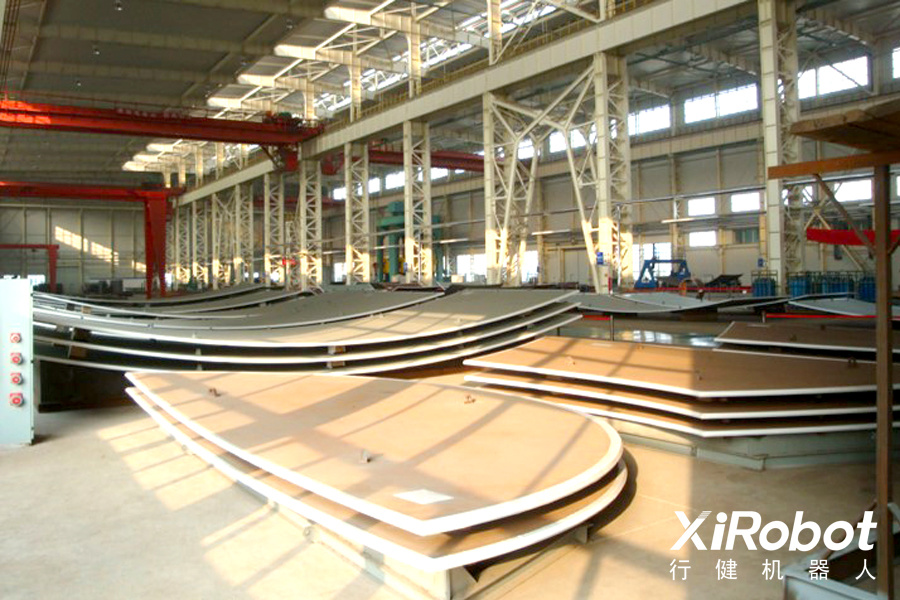
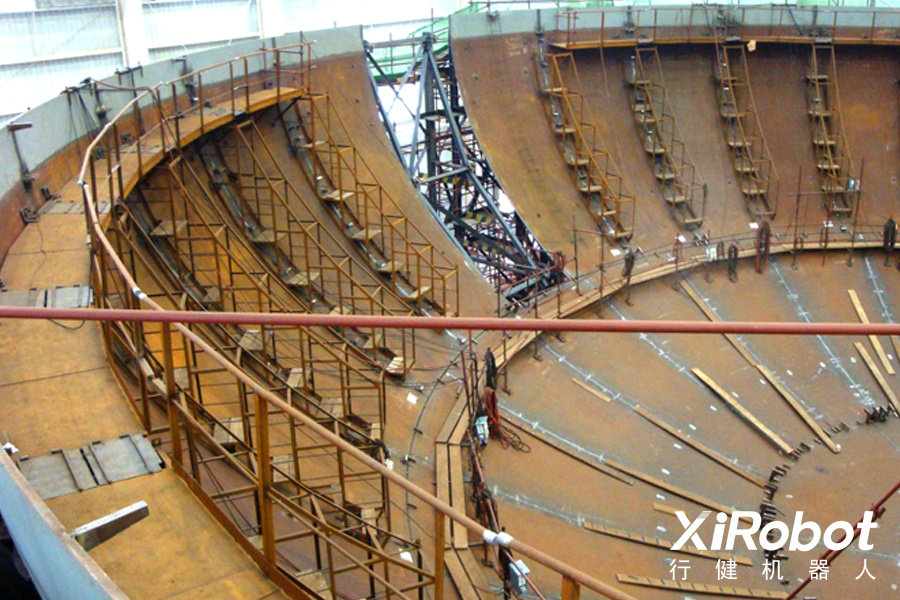
Curved panel measuring and marking groove cutting robot
关键词:
所属分类:
1. Intelligent workpiece perception: realize steel plate corner recognition; The non-contact automatic sensing of workpiece curvature can measure the pressing accuracy of steel plate, without the need for measuring sample plate comparison, and can automatically generate data reports with higher accuracy.
2. High precision scribing: according to the pressing deviation of the steel plate, the measured data automatically generates the optimal finishing size, automatically carries out laser scribing, and the scribing accuracy is high.
3. Precise cutting: the cutting position is accurately confirmed according to the measurement data, and real-time tracking through the visual system avoids the error caused by thermal deformation during the cutting process. The steel plate cut has high surface quality and more accurate contour dimensions.
4. Super strong replacement: double guns are used to cut the X-shaped groove at one time to minimize the heat input and reduce the change of steel plate curvature, so as to realize mutual replacement of the same type of steel plates and disordered installation.
5. High end independent programming: the steel plate does not need to be placed at a precise position to achieve automatic measurement. The measurement data can generate reports independently without manual programming. The "fool type" operation is more labor saving and convenient.
6. Minimal layout optimization: the linear layout is flexible, reasonable and compact, which can realize the alternate work of double stations, and effectively improve the utilization rate of the production site and the overall production efficiency.
7. Intelligent and efficient production: the equipment is highly intelligent, which can realize multiple machines for one person and greatly reduce labor and labor intensity.
8. Related products: It can be equipped with a magnetic crawling vision automatic tracking cutting car to achieve curved panel and chip cutting after scribing.
| host | Gantry structure, bilateral drive | |
| Overall dimensions | 21000mm×5500mm×3500mm | |
| Gauge | 5500mm | |
| Track accuracy | 0.2mm/1000mm | |
| trip | Effective cutting length (X axis) | 13000mm |
| Effective cutting width (Y axis) | 3500mm | |
| Effective cutting height (Z-axis) | 2500mm | |
| Rotation range of U axis (horizontal rotation axis) | 360 °± 45 ° infinite rotation | |
| Deflection range of Axis V (cutting torch angle axis) | ± 45 ° (angle with surface normal) | |
| Deflection range of W axis (double cutting gun spin axis) | ±90° | |
| Effective lifting measuring range of Z1 axis | 750mm | |
| measurement accuracy | X-axis accuracy | ± 0.5mm (with a tolerance of 12000 mm for machine movement) |
| Y-axis accuracy | ± 0.5mm (3500 mm tolerance for machine movement) | |
| Z-axis accuracy | ± 0.2mm (tolerance for machine movement 1900mm) | |
| U axis (horizontal rotation axis) accuracy | ±15/ | |
| Accuracy of Axis V (cutting torch angle axis) | ±15/ | |
| W axis (double cutting gun spin axis) accuracy | ±15/ | |
| Z1 axis (measuring axis) accuracy | ±0.5mm | |
| speed | Maximum movement speed of X axis | 6000mm/min |
| Maximum moving speed of Y-axis | 6000mm/min | |
| Maximum travel speed of Z-axis | 3000mm/min | |
| Maximum rotation speed of UVW axis | 30°/s | |
| Maximum travel speed of Z1 axis measuring scribing | 2000mm/min | |
| Marking requirements | Scoring depth | ≦0.4mm |
| Scoring width | ≦0.3mm | |
| Tolerance of arc length diagonal (when there are 4 arc edges and the curvature of spherical shell plate meets the accuracy requirements) | ≦2mm | |
| Length tolerance of arc edge | ≦1mm | |
| Cutting thickness | 16mm~100mm | |
| Gas for cutting | Oxygen ≥ 0.8Mpa, acetylene or propane > 0.05Mpa, pressure stable | |
| Power Supply | Three phase AC 380V (± 10%), 50Hz, 30KVA | |
| Weight (main engine, excluding base rail) | 15000Kg | |
| ambient temperature | -10℃~ 40℃ | |
| relative humidity | <90%,No condensation | |
Related Products
Get free product quotes


